Integrating the NeuroPress AI plugin with Polylang allows you to effortlessly translate your WordPress posts and pages using AI. This guide will walk you through the steps to use the “Translate with AI” feature.
Step 1: Install and Configure Polylang
Before you can use the “Translate with AI” feature, ensure that you have the Polylang plugin installed and configured on your WordPress site. Define the languages you want to use in Polylang.
Step 2: Access the Translation Options
Navigate to the post or page you want to translate. In the post or page list, you will see a new option called “Translate with AI.”

Step 3: Open the Translation Modal
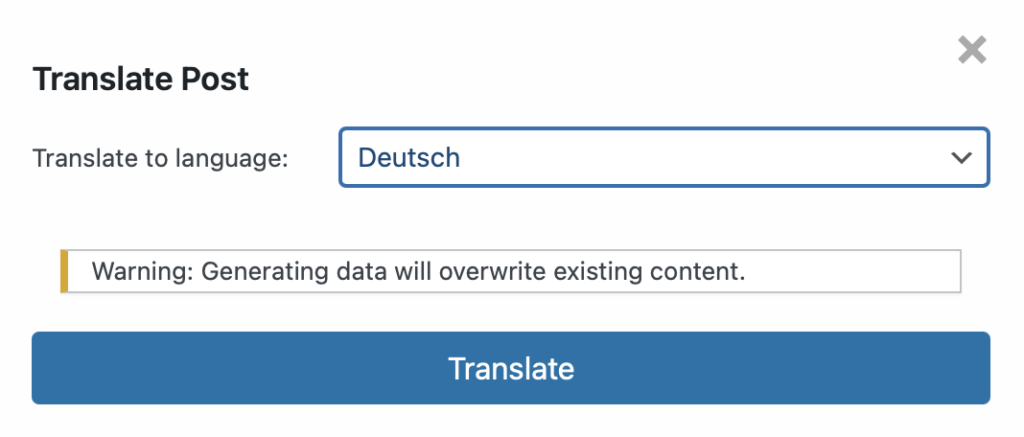
Click on the “Translate with AI” link. This will open a modal window where you can select the target language for the translation.
Step 4: Select the Target Language
In the modal window, choose the language you want to translate the post or page into from the dropdown menu. The available languages will be those that you have previously defined in Polylang.

Example:
• Translate to language: Deutsch (German)
Step 5: Generate the Translation
After selecting the target language, click the “Translate” button. The AI will generate the translated content based on the original text.
Note: If a translation already exists for the selected language, the existing content will be replaced with the new AI-generated translation. If no translation exists, a new post or page will be created with the translated content.
Reviewing and Editing
After the translation is generated, review the content to ensure accuracy and make any necessary edits directly in the WordPress editor.
Conclusion
Using NeuroPress AI with Polylang simplifies the process of translating content on your WordPress site. By following these steps, you can quickly generate multilingual content, ensuring a seamless experience for your global audience.